Insert the WAVECOM installation DVD in the drive. When
requested, point the auto start wizard to the disc drive and start
installation.
Note: After
installation, you can run the corresponding application W-CODE, W74PC, W-PCI and
W-PCIe if you are a member of the Administrators, Power Users or
Users group.
Before the installation of a software update, the old
version must be uninstalled (see Software Uninstall on page 25). After
uninstallation has completed, insert the WAVECOM installation disc in the drive;
the installer will start automatically. Otherwise, it can be started with Explorer by double-clicking
Installation.exe.
Without loosing generality we show the installation steps
on the example W-CODE.
The selection dialogue of the installation program
is displayed:
|

Click the “W-CODE” button to install the W-CODE and
W-CLOUD application. |
|
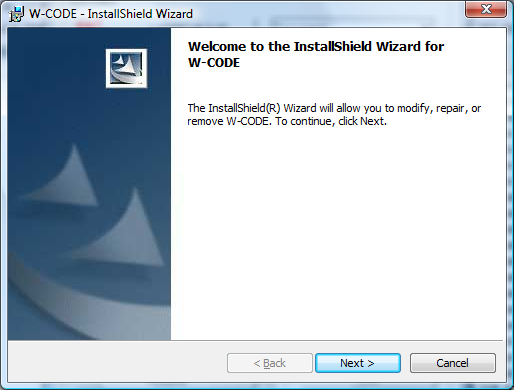
First, you will see the welcome screen. Click “Next” to
continue the installation. |
|
|

Change the destination folder and click “Next” to
continue the installation. |
|
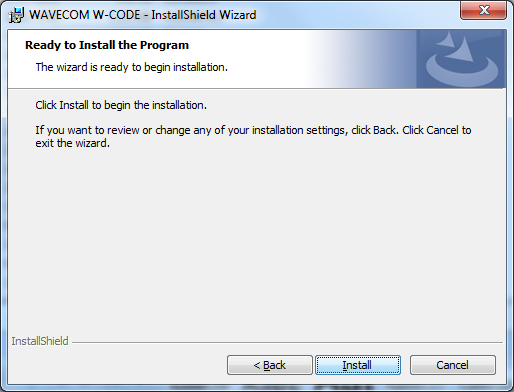
Click “Next” to continue the installation. |
|
|
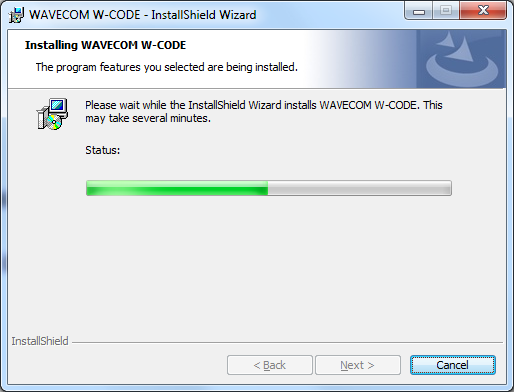
Wait until the installation is finished. |
|
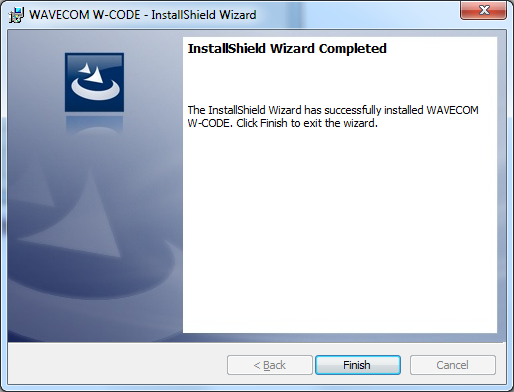
If the installation was successful, click Finish
to complete the process. |
|
Note:
If a firewall is enabled on your system, depending on its security level
settings, various components of W-CODE may ask to access the Internet or the
trusted zone of the firewall. You will have to manually grant access to these
components.
Check
for hidden windows if the installation process seems to “hang” (this can be done
by pressing the Alt+Tab keys). Sometimes windows in the background are waiting
for a button to be pressed to allow the installation to proceed.